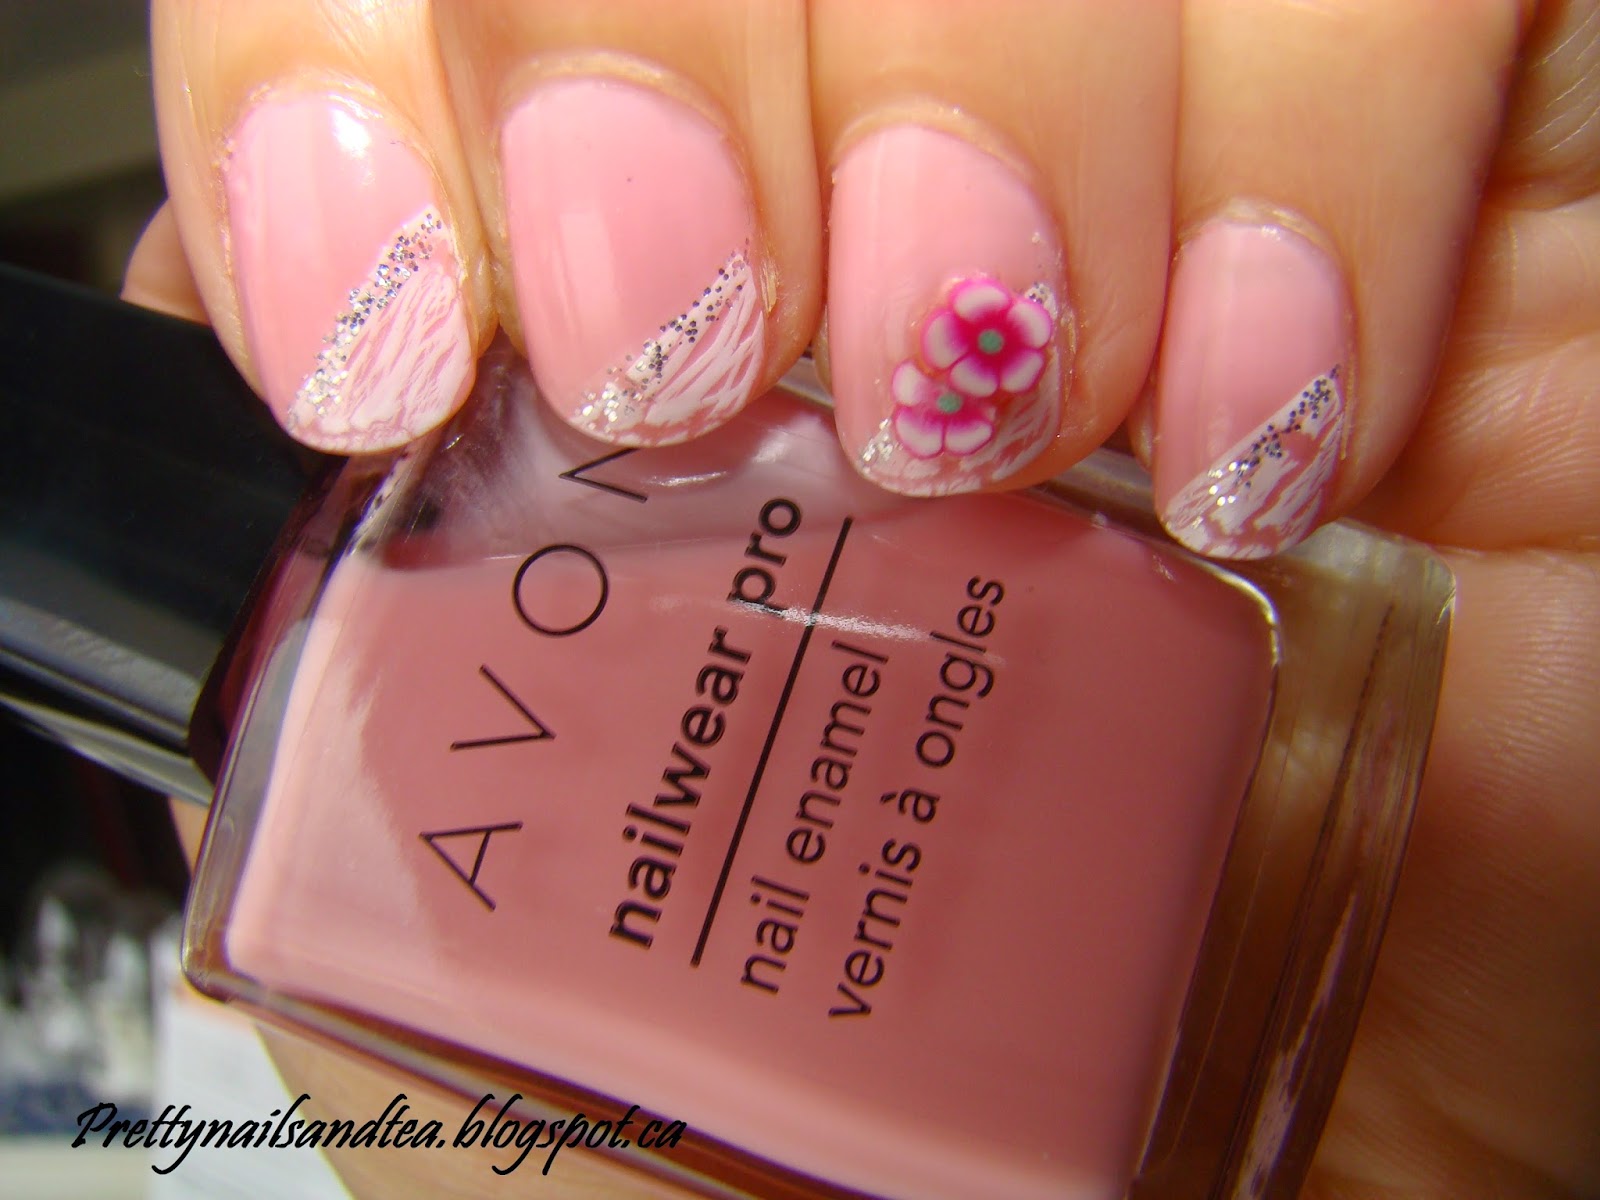
A few weeks ago, I posted a How To on "giving yourself a nice at home nail spa." Have you tried it?
After giving yourself a nice at home nail spa, now it's time to prepare your pretty little sassy fingers for more pampering. Pick your polish colors, your designs, gather your tools.... and now you're ready to paint. Any tips on getting the perfect manicure? Of course! Here's some:
The Perfect Manicure in Four Steps
1. Remove excess oils from the nails. Wipe off your nails with a cotton pad soaked in polish remover. Preferably, use a lint free cotton pad or paper towel. Make sure to remove any excess oils and cotton fibers.
2. Brush on a base.
Sweep on a creamy base coat. The creamier the base, the better it is at filling the ridges. It will also allow for better polish adhesion. This is the key to longer lasting manicure.
3. Add the color or fancy up with a nail art.
Let the base coat dry for a minute. Dip your brush into your nail polish and start painting in the center of your nail, sweeping toward the free edge. Next, swipe on each side, then finish with a thin horizontal stroke on the free edge. This will help the polish not to pull away from the tips as it dries. If you need to apply another layer of polish color to make it more opaque, make sure to let the previous layer dry first. That way, you can prevent bubbling and you ensure a smooth finish.
For some nice nail art - check out some of my designs <<here>>
or click photo to see how I did my Paris Inspired Ombre Nails
*Quick Tip: Clean as you go. After each coat, use a eyeliner brush dipped in remover to clean out the messes around the nail. Doing this while the messes are wet will make it much easier to clean them.
4. Top it off!
Wait about 5 minutes for your design to dry then layer a generous amount of top coat (generous but not oozing)... This will add shine and protect your design. Alternately, matte topcoats will remove the shine from the polish and allows for a different look.
*Quick Tip: Make sure to cover all the polish in your nails especially along the cuticle line and the free edge with top coat. Some topcoats pull away from the edges as it dries. If it's covering all the polish, then your mani will look cleaner and more crisp ;)
Fast Drying Secrets
These simple tips will help if you need to dry your nails in a hurry.
1. Drizzle oil on them.
Tilt your hand downward and drip cuticle oil onto each finger tip. The oil will create a smudge proof shield protecting the nails. Then give it a few minutes.
2. Blow dry them :)
Set your blow dryer to warm and fan it across the nails about 6 inches away. After a few minutes, change setting to cool and do it for another 30 seconds.
3. Dip them in cold water.
Gently plunge your finger in ice-cold water and keep your finger submerged for one minute. The chilly water quickly hardens the polish.
3. Use fast-drying topcoat.
The glitch - Although the surface may be dry, the earlier polish layers may be not. So you still need to be careful with your polished fingers for at least 5 minutes.

Do you have anymore manicure / nail art tips and tricks that you can share with us?
Please don't forget to leave some comments below... I do accept some love as well through your words of encouragement by leaving a message in the comments section below. Have a great day pretty ladies!
Related Post:
 |
| Safely Removing Soak-Off Gel Polish |


No comments:
Post a Comment
Thank you very much for leaving me a message.
"Like apples of gold in silver carvings, is a word spoken at the right time." ~ Proverbs 25:11.